The example figures below are illustrative, to show the method — not real market prices, and not medical, occupational-therapy, or building-code advice. For an assessment of a specific person in a specific home, ask a doctor for a referral to an occupational therapist.
Step 1 — Walk the house one room at a time
The worry stays vague because it has no first step. Give it one: print the free Home-Safety Walkthrough Checklist, or open the assessment, and walk the house room by room — the entrance and exterior, hallways and stairs, living areas, the kitchen, the bathroom, the bedroom, laundry and utility, and the whole-home basics like smoke and carbon-monoxide alarms. (New to the idea? Start with what aging in place means.)
The single most important rule is to answer by looking, not by remembering. Stand in the room and check the specific thing: put a hand on the stair rail to feel if it’s loose, step into the tub to feel how high the wall is, open the bathroom door to see whether it swings in against a fallen person. Answering from the kitchen table is how a family concludes the stairs are “fine” because they’ve always been fine.
Step 2 — Score the risk room by room
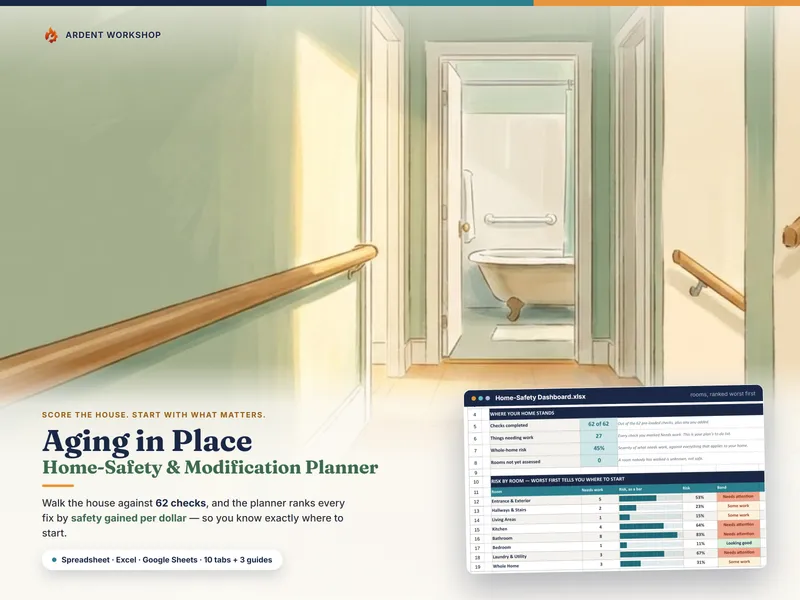
Not every hazard is equal, so score them. Mark each check OK, Needs work, or Not applicable — and if your home doesn’t have something (no stairs, no garage), Not applicable drops it out of the math, so a single-story home isn’t penalized for stairs it doesn’t have. Weight the more serious findings more heavily, then roll the risk up per room.
| Room | Things needing work | Room risk | Where to start |
|---|---|---|---|
| Bathroom | 8 | 83% | Needs attention — start here |
| Laundry & Utility | 3 | 67% | Needs attention |
| Kitchen | 4 | 64% | Needs attention |
| Entrance & Exterior | 5 | 53% | Needs attention |
| Bedroom | 1 | 11% | Looking good |
Ranking the rooms worst-first tells you where to start — usually the bathroom, because bathrooms are wet, hard, small rooms that almost none were designed with a seventy-five-year-old in mind. A low score isn’t a clean bill of health; it means the checks on the list came back clear.
Step 3 — Rank the fixes by safety gained per dollar
This is the step that surprises people. Turn each Needs-work finding into a planned change, give it a rough cost, and rank by safety gained per dollar — not by what feels biggest.
| Fix | Est. cost | Do it… |
|---|---|---|
| Non-slip strips in the tub | $25 | Do first |
| Grab bar by the toilet, into studs | $150 | Do next |
| Motion night lights, bedroom to bathroom | $60 | Do next |
| Handrail on the front steps | $400 | Do next |
| Convert the tub to a walk-in shower | $8,500 | Do later |
The expensive idea — the walk-in shower — is usually why nothing gets done: it needs a decision, so it’s postponed, and while everyone waits the tub still has no bar. Ranking by safety per dollar puts the $25 strips and the grab bar first, because they’re the ones you can do this weekend. “Do later” doesn’t mean never — it means the cheap fix that addresses the same risk shouldn’t wait on it.
Step 4 — Get quotes for anything you’re not doing yourself
Some fixes are fine to do yourself: night lights, non-slip strips, removing rugs, contrast tape on stairs. Others are worth hiring out: grab bars if you’re not confident about finding studs, stair rails, ramps, and anything electrical or structural.
For those, get more than one quote and compare each against your own estimate — the spread on the same job can be wide. And ask the one question that matters most: how is it anchored? A grab bar properly fixed into wall studs or solid blocking can hold an adult’s weight — that’s what the standards for grab bars are written around — where a bar screwed into ordinary drywall anchors can pull loose under load, at the exact moment it’s needed. When you bring a contractor in, give them the specific rows they’re quoting — not a complete inventory of which doors don’t lock.
Step 5 — Set a budget and work down the list
Set what the family can realistically spend and work down the ranked list from the top. Almost every plan starts over budget — and that’s fine; it’s information, not a verdict, and working down the ranking is precisely how you buy the most safety with the money you have.
Before assuming the whole bill is yours, it’s worth one phone call: depending on where you live and the person’s circumstances, some of this work is sometimes helped along by an Area Agency on Aging, a nonprofit or volunteer repair program, veterans’ benefits, or a Medicaid waiver, and some can count as a deductible medical expense. None of it is automatic or guaranteed — but the call is free.
Step 6 — Record what’s done, and re-walk after any change
Log each change the week it’s finished — the date, who did it, what it cost, and where the receipt and any warranty live. A year later that’s the record that answers “when did we do the bathroom, and is the bar still under warranty?”
Then re-walk the assessment once a year, and — more importantly — after any fall, hospital stay, or change in mobility, eyesight, or medication. A fall is information, and the home that was safe last year may not be now. This is a plan you keep and return to, not a one-time project — which is exactly why it belongs in a file you own, like the Aging-in-Place & Home-Safety Modification Planner, rather than a rented home-safety app.