One reason emergency advice so often goes unfollowed is that “be prepared” is vague and endless. A grab-list makes it small and finite: four short lists you can finish in an afternoon and keep in a bag by the door. Here’s the whole thing, built one list at a time.
Step 1 — List the documents to grab and where each is
Start with the papers that are slow and painful to replace. Walk your home and write down where each original lives — you’re not moving anything yet, just mapping it.
| Document | Where the original is | Grab priority |
|---|---|---|
| Driver's licenses & passports | Fireproof box, hall closet | Grab first |
| Birth certificates & SS cards | Fireproof box, hall closet | Grab first (or digital) |
| Home deed or lease | Fireproof box | Digital copy is enough |
| Insurance policies | Home file drawer | Digital copy is enough |
| Medical & prescription list | This grab-list | Grab first (with the meds) |
| Pet records & vaccination proof | Home file drawer | If there's time |
Step 2 — Set a grab priority and make digital copies
The trick that makes a grab-list fast to act on is deciding in advance what’s worth the seconds. Scan the important documents to a cloud folder — a phone photo is fine — and then most of them become “digital copy is enough,” leaving only a few true grab-first items. That’s how a ten-minute exit takes what matters and skips what it doesn’t.
Step 3 — Write down who to call
In an emergency, local cell networks often get congested or fail. A short list of numbers on paper is what gets you through:
- An out-of-area contact everyone in the household agrees to call to check in — long-distance lines often work when local ones don’t.
- Your insurance claims line, so filing starts with a call, not a search.
- Your doctor or pediatrician and your pharmacy.
- The kids’ school or childcare, and your utility company’s outage line.
- A trusted neighbor with a spare key.
Step 4 — Capture your plan on one line each
The plan is short by design — one line per decision, so it fits on the page and in your head:
- Meeting place near home, and one outside the neighborhood in case you can’t get back.
- Where you’d go if you evacuated — a first and a second choice — and the routes, primary and backup.
- Who grabs what — the go-bags, the pets, the medications — so nothing waits on “I thought you had it.”
Step 5 — Keep a copy you can reach
A grab-list only helps if you can open it on the worst day. Keep it in two places, one of them offline: printed in the go-bag by the door, and a digital copy in a cloud account you can reach from any phone. And keep passwords and full account numbers off the page — a grab-and-go list can be lost or seen, so it records facts and where things live, not credentials.
From a grab-list to a ready household
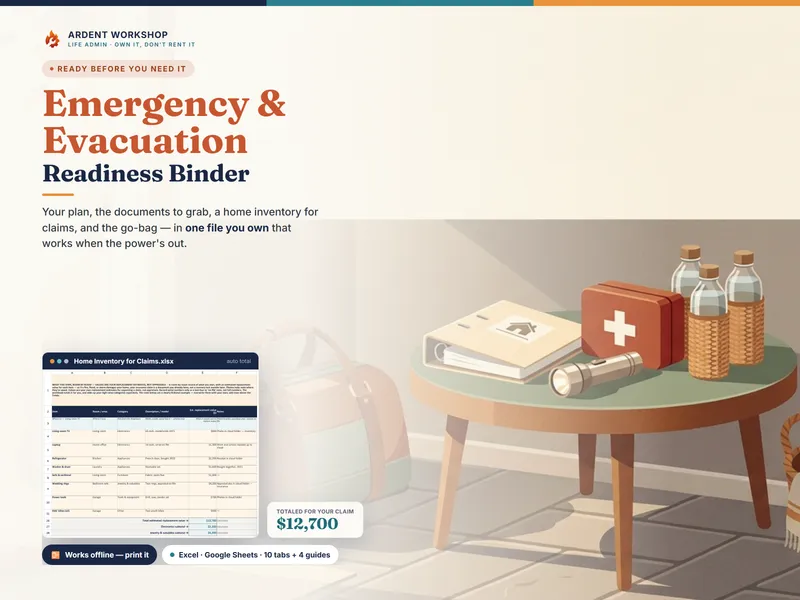
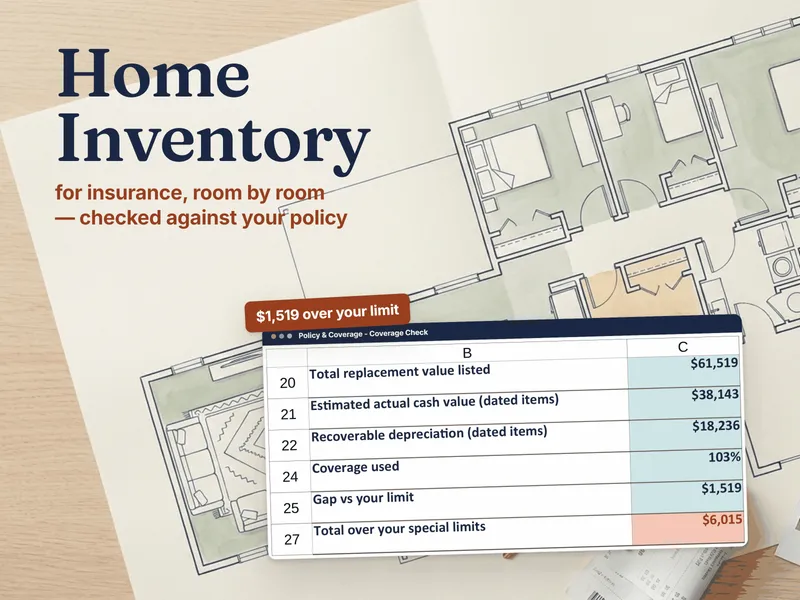
A grab-list is the one-page core. The Emergency / Evacuation Readiness Binder is where the rest gets organized and kept ready — a home inventory that totals your replacement value for claims, an insurance summary, emergency contacts, a medical record, a go-bag checklist, and the utility shutoffs, in one file you own that works when the power’s out. Start free with the Emergency Grab-List, see what an emergency binder is for the whole picture, or weigh an emergency binder against a readiness app.